
Do your English Horn reeds fall off of your bocal sometimes? Using a reed sealing tube may be the answer! In this quick how-to guide, oboist Anna Betuzzi will walk you through how to apply and use a reed sealing tube for English Horn reeds. (This sealing tube will also work for Oboe d’Amore reeds, by the way!)
For a visual explanation of this process, check out our YouTube video on the same topic! You can also find our Loree English Horn Sealing Tube product listing on our website.
Step 1: Cut the Sealing Tube to Length
First, cut the sealing tube to a length of approximately seven millimeters. We want there to be enough tube so that the reed and bocal can attach securely, but not so much that it makes it difficult to put the reed onto the bocal. You can use scissors or a razor blade on a cutting block to ensure a straight, clean cut.
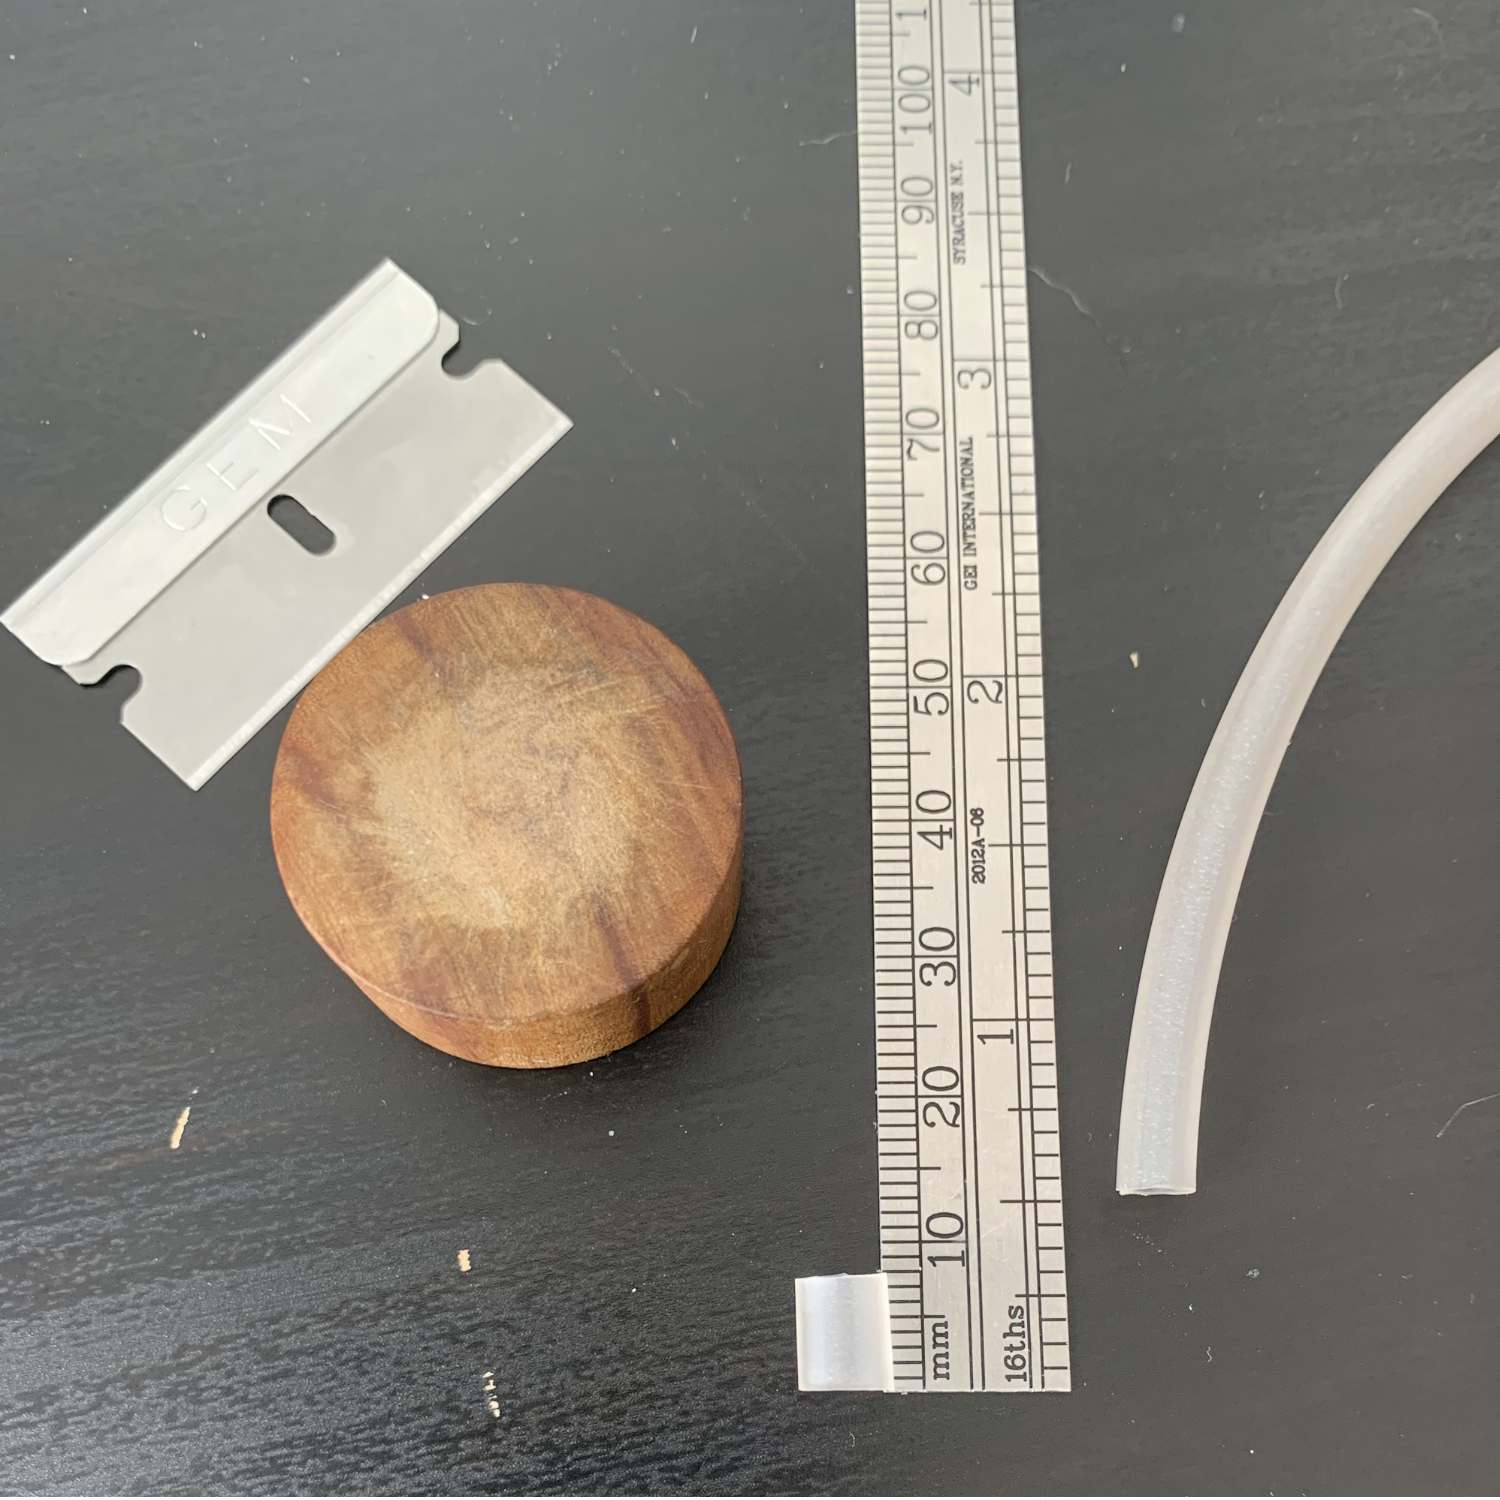
If you’re unsure, err on the side of too long. Much like reedmaking, you can always take more off, but you can’t put it back on!
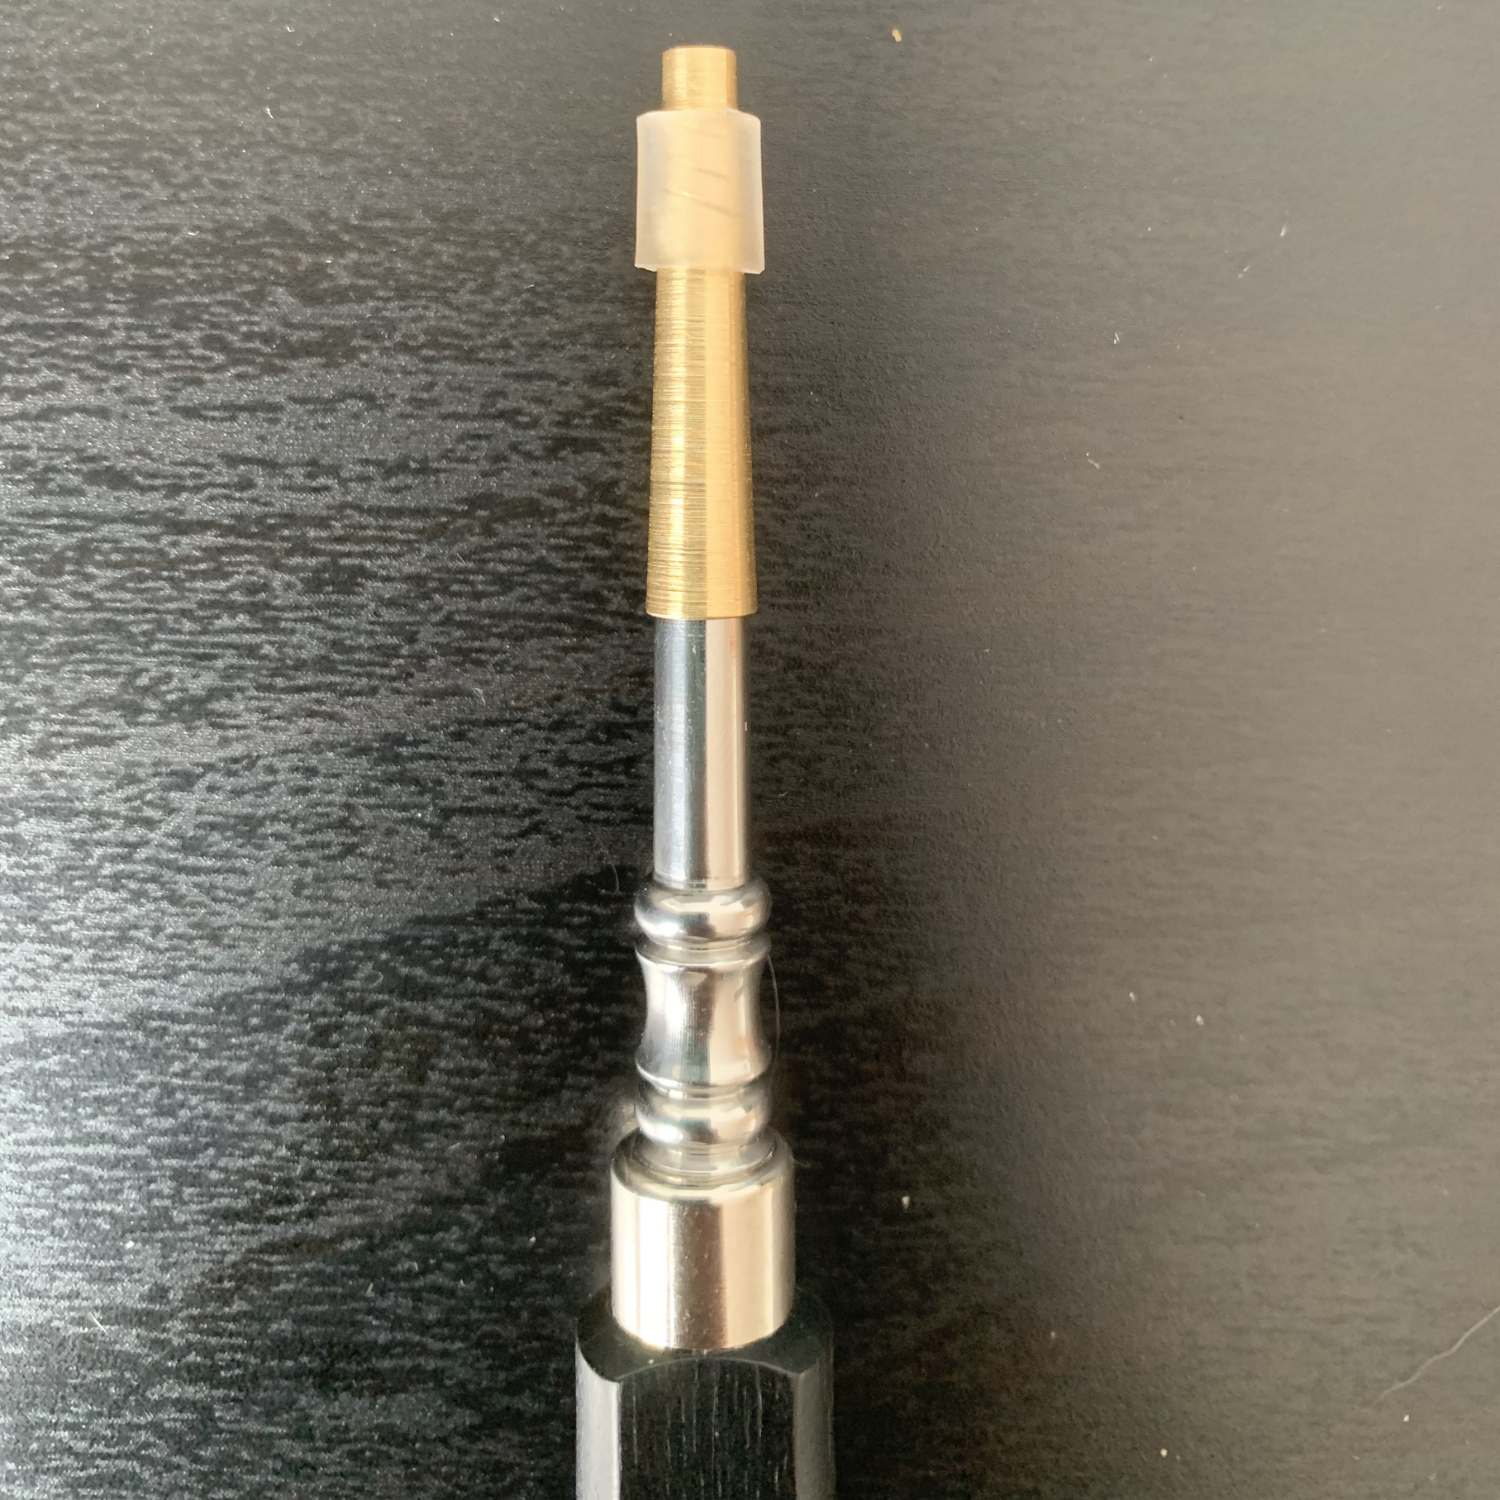
Step 2: Attach the Sealing Tube to the Staple
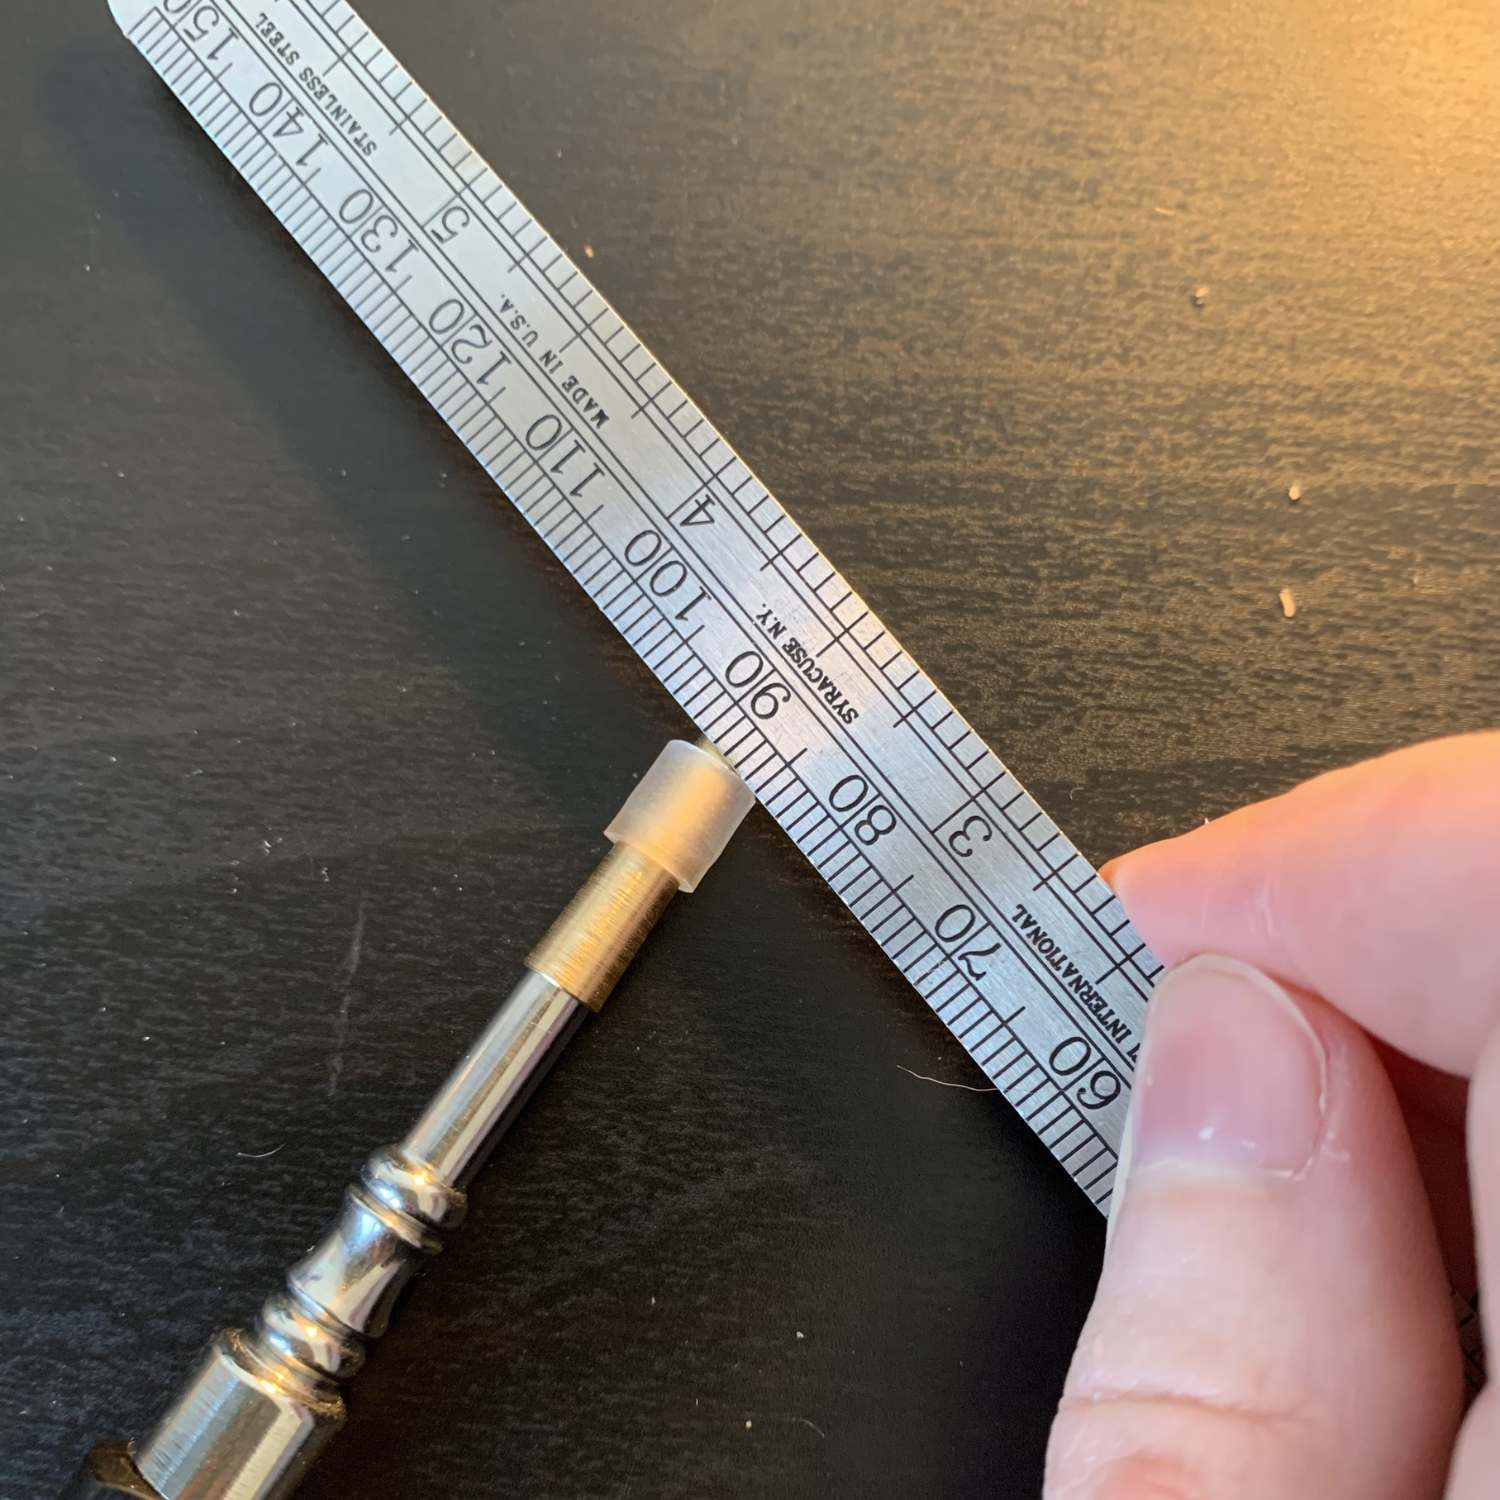
Next, affix half of the sealing tube to your staple. I like to place the tube over the thinner top portion of the staple first, then slide it downwards. You can also place the staple on a mandrel to make the process easier, and use a ruler to guide the sealing tube downwards.
Here’s the sealing tube on top of the staple, before sliding it downwards:
Here’s how I used a ruler to slide the sealing tube down:
And here’s the sealing tube correctly placed at the base of the staple:
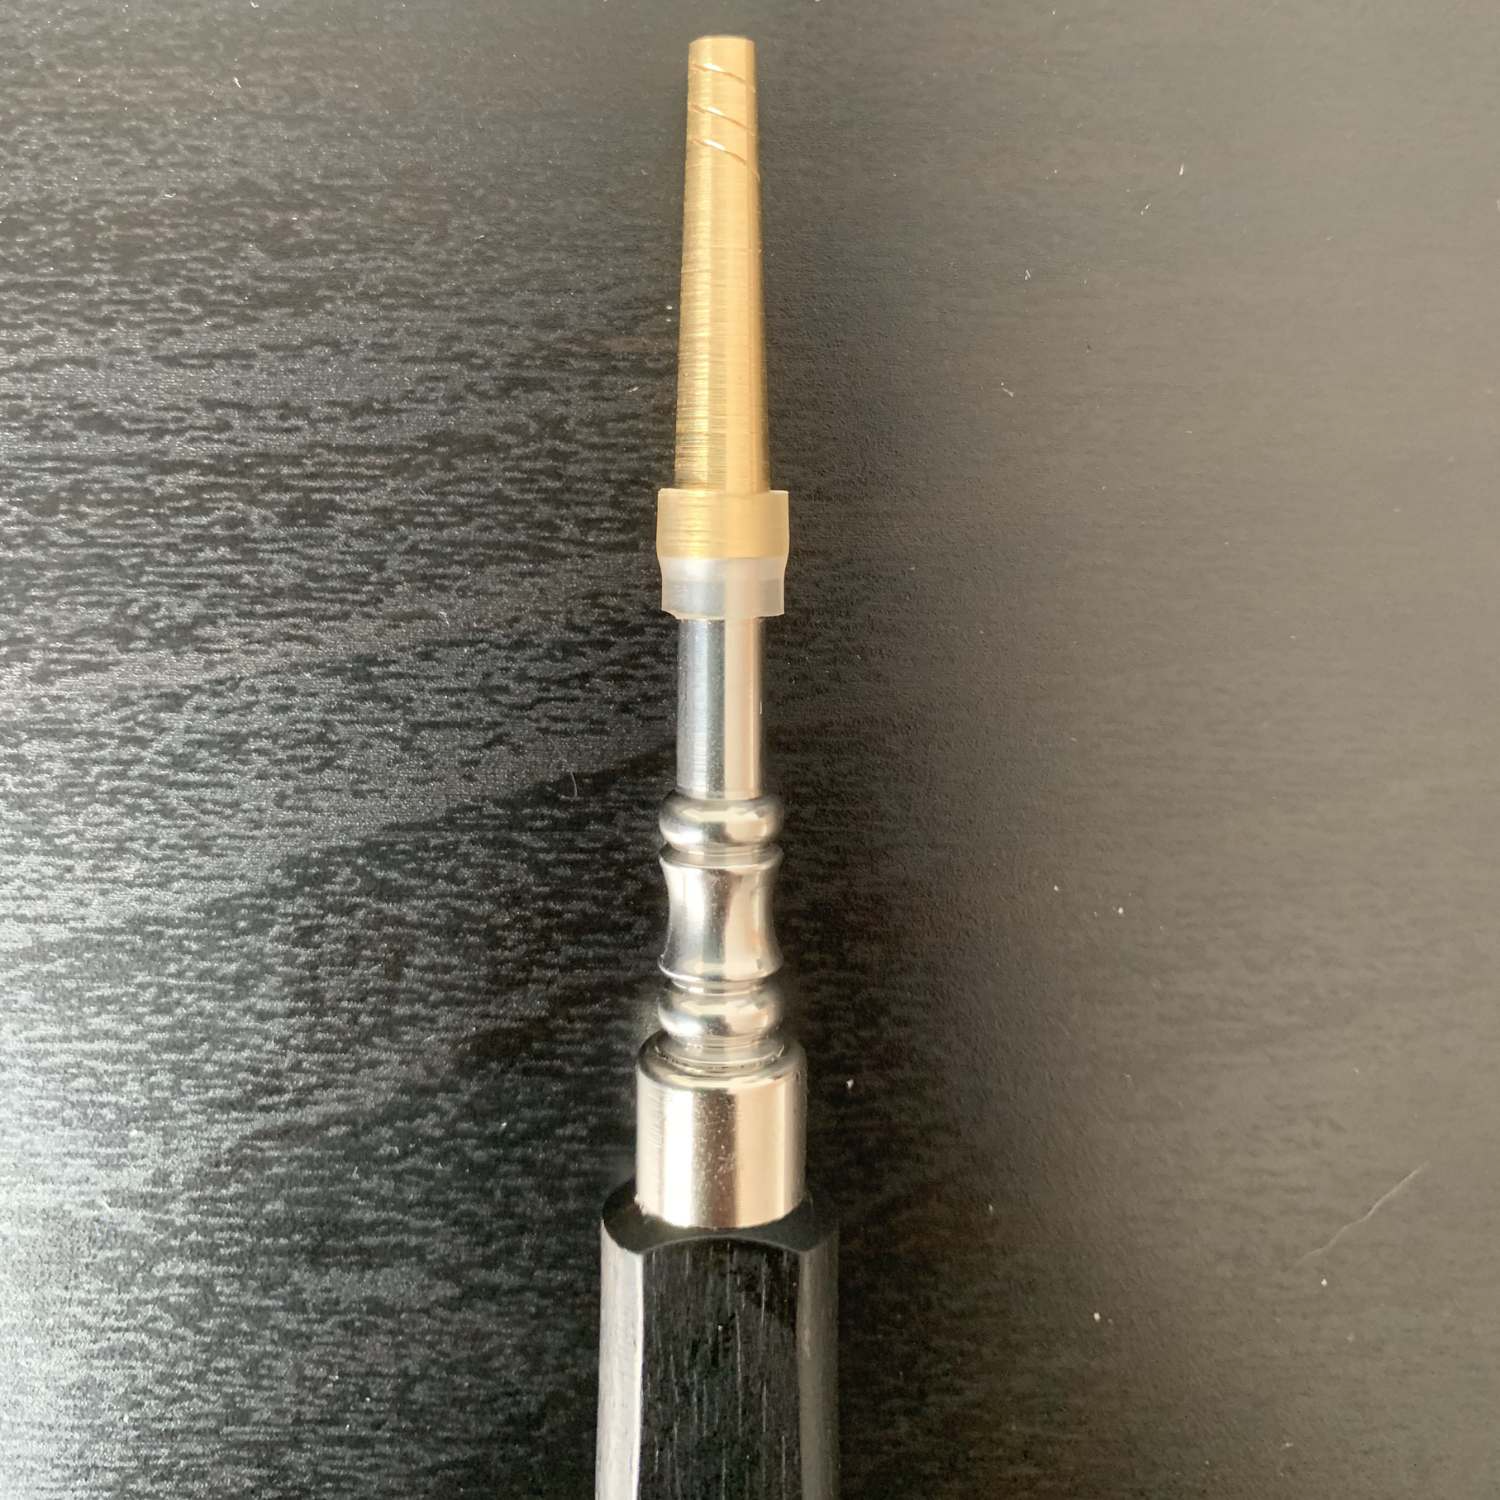
If it’s very stubborn, you can try warming the sealing tube with your hands, or soaking it in warm water for a few minutes to make the material more malleable.
We do recommend completing this step with a staple only (before making the reed), rather than with a whole reed, as it will make the whole process much easier.
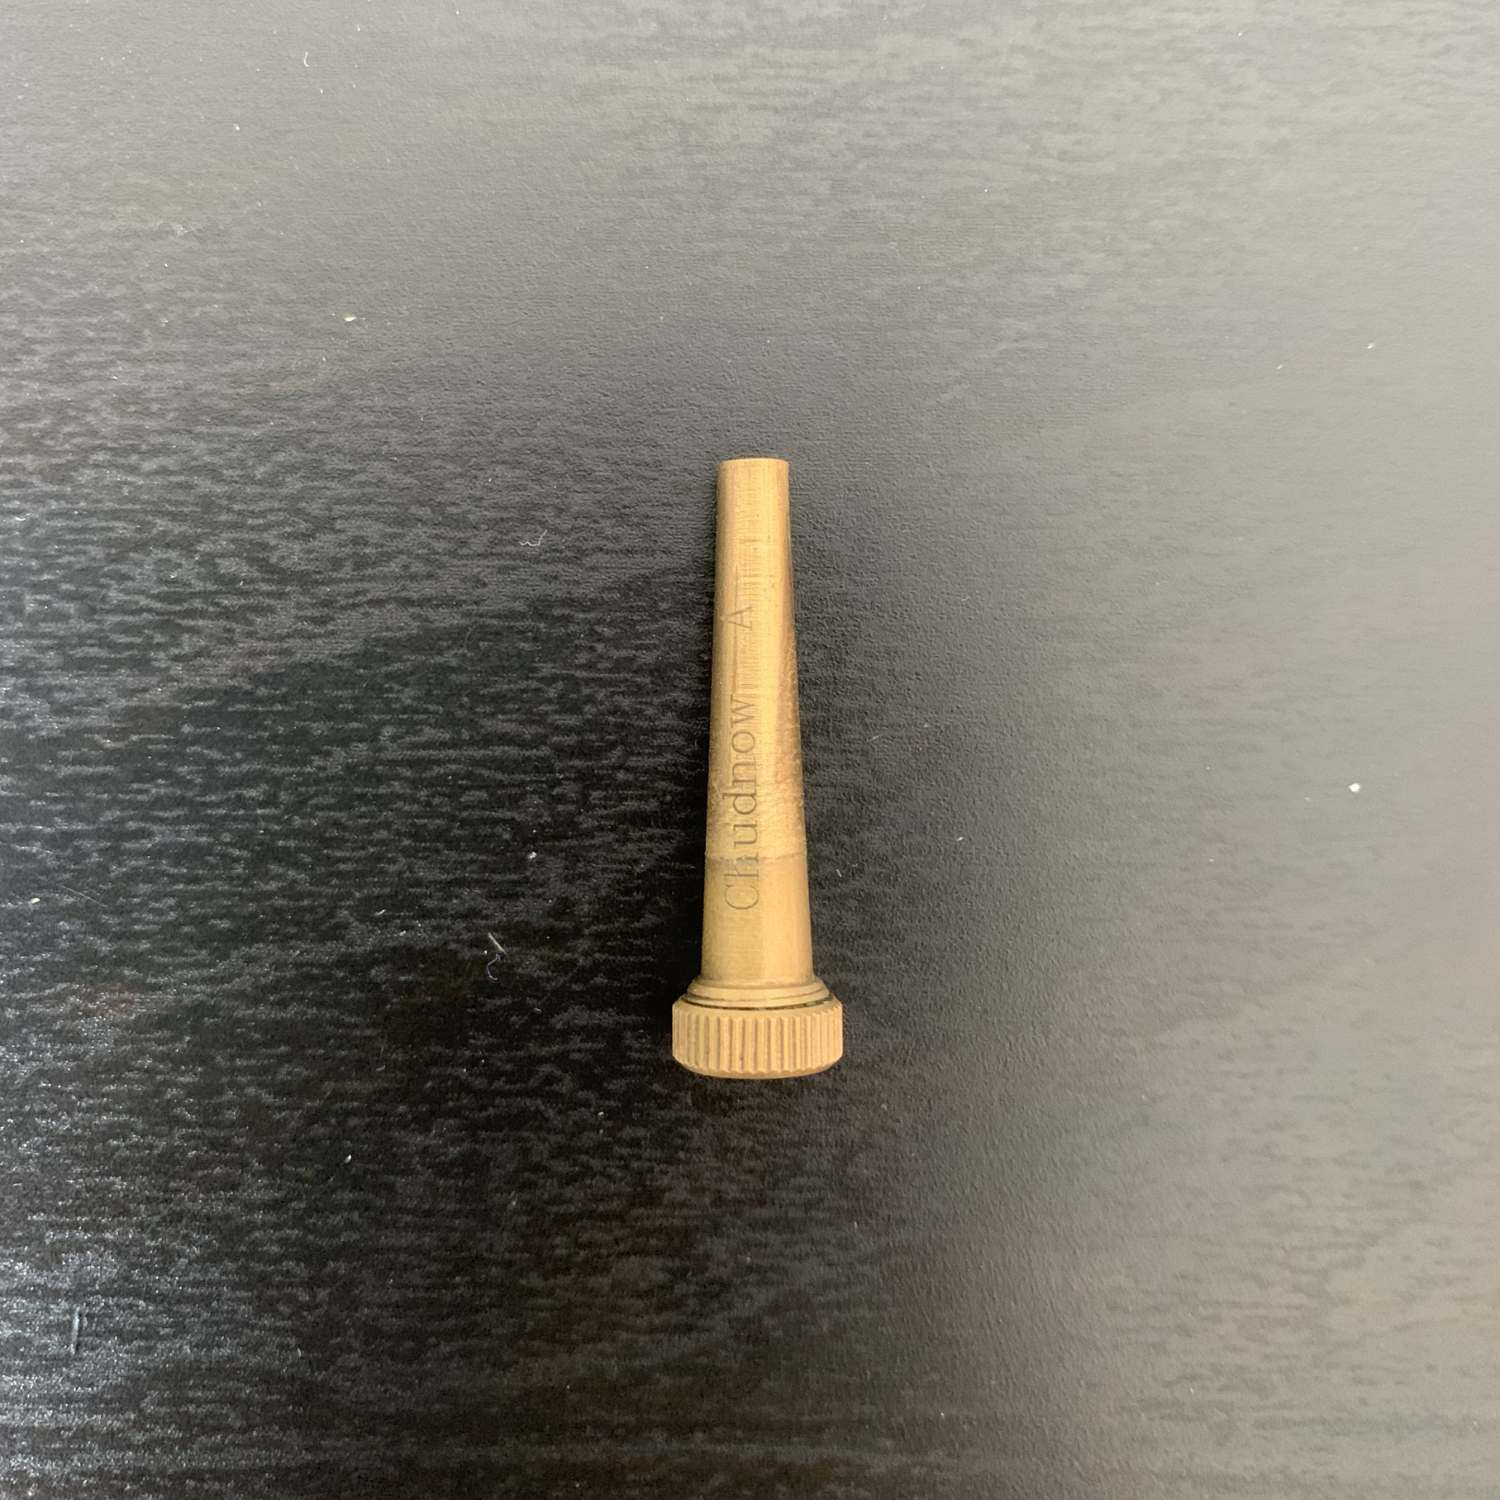
Although our sealing tube is made by Loree, it should fit on any brand of English horn (and oboe d’amore) staples. The exception would be Chudnow staples, which already have a built-in rubber seal and shouldn’t need sealing tubes at all. Here’s a Chudnow staple for reference:
Step 3: Ensure the Sealing Tube Fits the Bocal
Finally, test to make sure the lower half of the sealing tube fits onto your bocal. As different bocals can vary in size, you may need to warm the sealing tube to make the tube’s material more malleable. Just be sure not to apply direct heat to the bocal to avoid damaging it.
Here’s what a staple securely affixed to the bocal will look like:
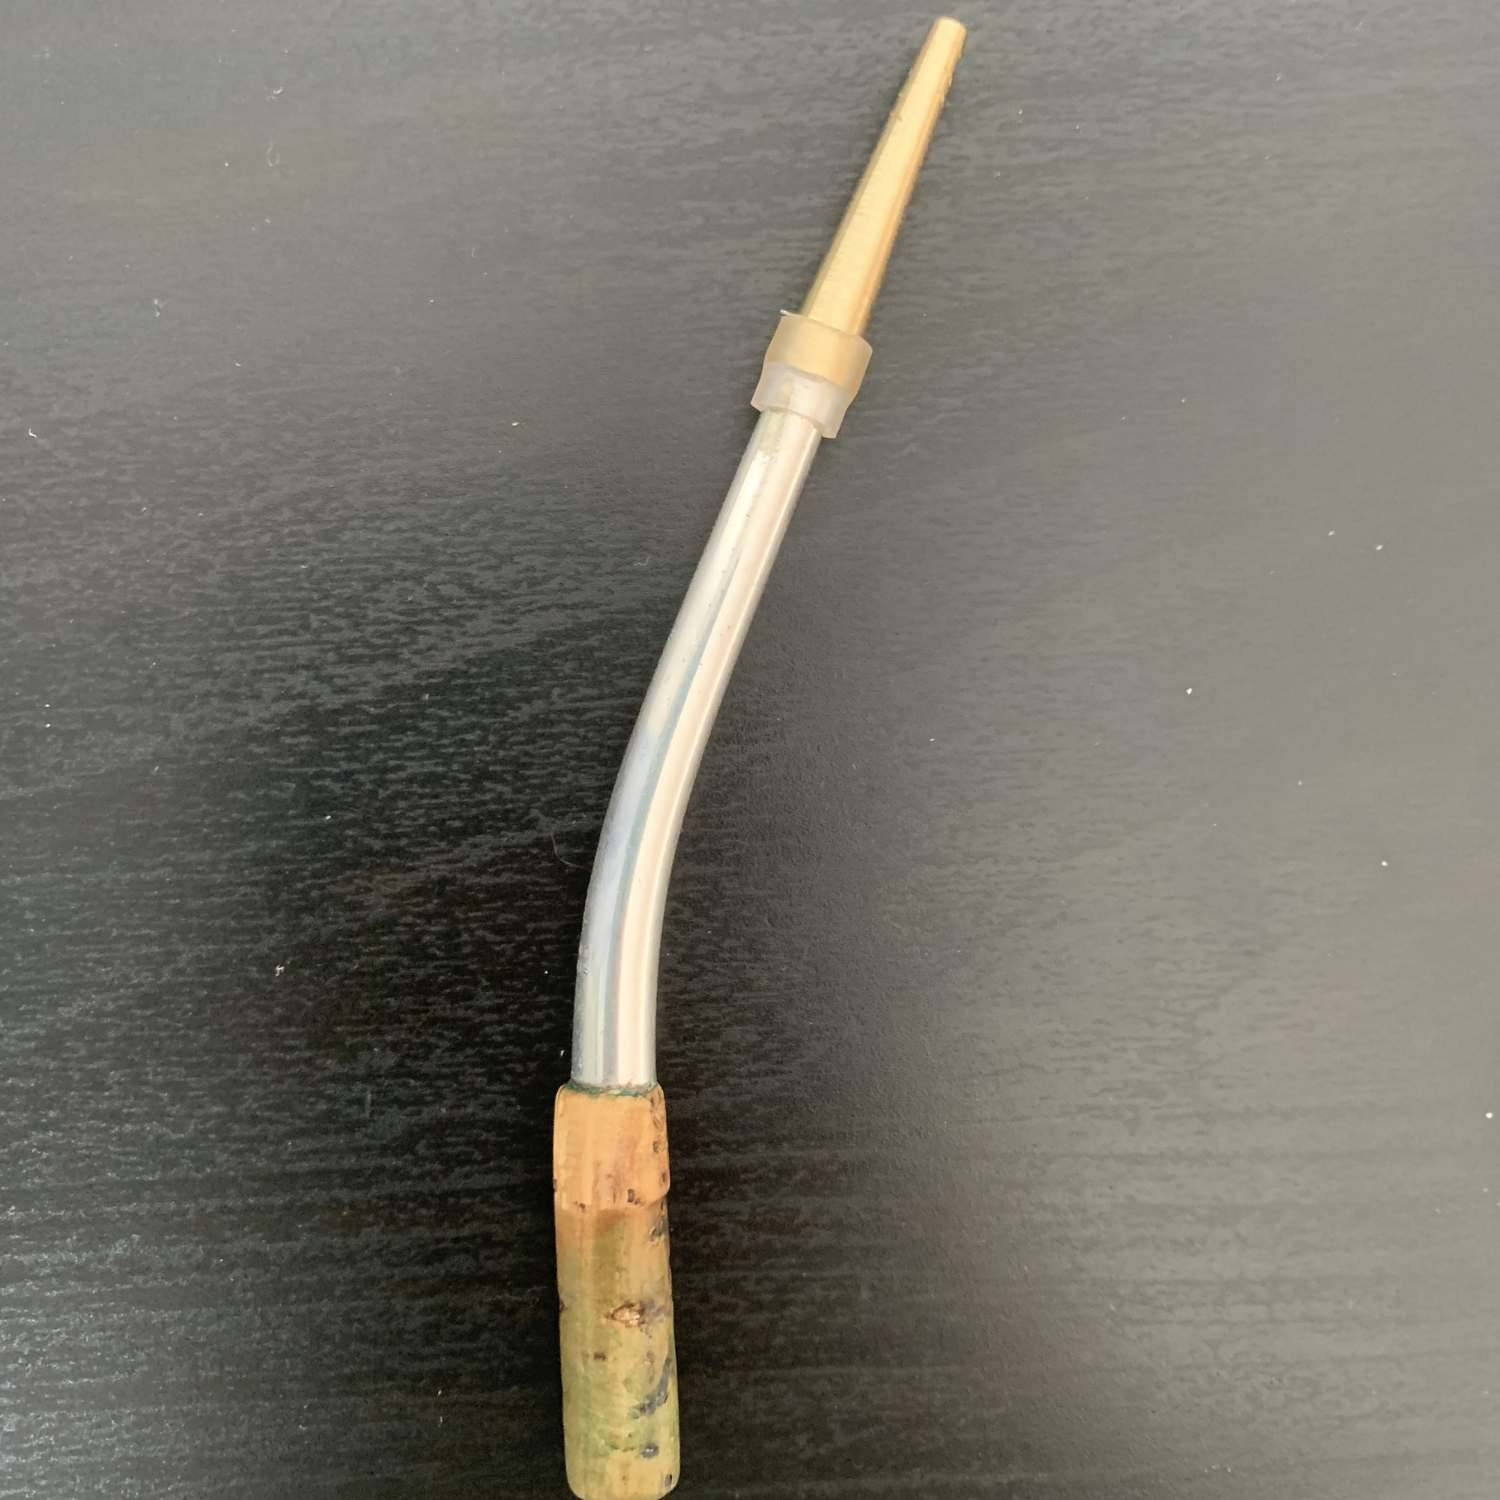
Now you can make a reed using that staple, and you can be sure it will never fall off your instrument at an inopportune moment!
Conclusion
I hope you enjoyed this quick guide on how to use an English Horn reed sealing tube. Happy reedmaking!